Habitat
Bring Piper’s Habitat into Your Classroom!
Overview
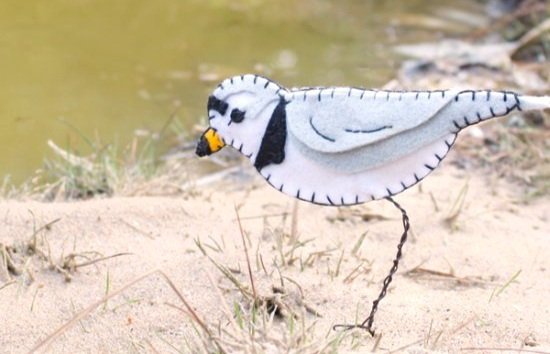
During their CiS lesson, your students learned all about the place where Piper lives, called her habitat, and the things she needs to survive, such as food water and shelter. Reinforce your students’ understanding of what a habitat is and bring a new friend into the room by creating your very own piping plover and habitat.
Duration : 0:31
Video Description : This video showcases piping plovers and their habitat — a great resource for making your piping plover anchor chart!
Materials
Images and videos of piping plovers and their habitats (linked)
Various materials for building Piper and her habitat
Example materials:
Paper plates
Plastic bottles
Toilet paper rolls
Clay
Activity Duration:
1 hour
Instructions
Help students research what piping plovers and their habitats looks like.
Create an anchor chart. As a class, have students list the necessary parts of a piping plover (ex: head, wings, legs, colors) as well as the parts of their habitat. Remember that they need food, water, and shelter!
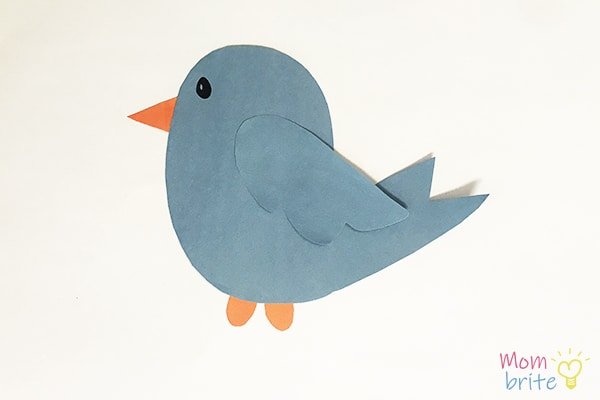
Get creative! Using paper plates, toilet paper rolls, plastic bottles, clay, or other materials, have students create their very own Piper to take home. Remind students to include the parts listed in your anchor chart.
Build or draw Piper’s habitat. Place your piping plovers in their habitats and admire!
Further Learning
Students can make individual piping plovers to take home and share with their families, or work together to build a larger classroom Piper. You can even give your piping plover a new name and have it be part of your classroom community as Piper’s Friend!


